Pages

Wednesday, October 8, 2014

Drawing a Pumpkin

Today we will draw a pumpkin by observation.

Before you draw remember the strategies we used for drawing realistically.

Using your thumb and pencil to find a unit of measure.
Draw everything in proportion to each other.
Use your pencil to find angles and compare the angle to the hands on a clock.
Use your grayscale to find shadows, midtones, and highlights.


Monday, October 6, 2014

Work Session - Complete your final Notan

Today you will complete your Notan. If you finish before class work on the Mystery Grid.

Take a picture of each project when you finish. we will post to the blog next class.

There will be a QUIZ NEXT CLASS on the Notan vocabulary. make sure you study!!!

Tuesday, September 30, 2014

More Grids

Today we'll work on grid drawings again. I want you to focus on drawing each square accuratley.
When you have completed the drawings post them to your blog.

Thursday, September 25, 2014

Drawing with a Grid

Today you will be using a grid to create accurate drawings.

First, write your name and block on the back of the page.

Second, label each grid  square in the following manner:

Label each square across the top A through k on both the picture and the blank grid

Label each square down the side 1 through 8 on both the picture and the blank grid

Next, start with a square of your choice and use the grid over the picture to where find each line or shape lies. For example, the center of the flower lies in square F3.

On the grid below precisely draw each line as it appears in the picture.

Draw the Flower, Hand, Pizza, and the Mystery grid, in that order. Take your time on each one. If you don't finish we'll work on them next week.

Wednesday, September 24, 2014

Notan - Translation - Tesselation


Today we will work on the second type of Notan movement. The translation. 

We will also create a tessellation pattern from our shape. A tessellation is a pattern you create that has no overlapping and no gaps between shapes.

The artist MC Escher used tesselations to create his art.

The Flying Horse Video

After we have completed the Translation and tessellation we will post them to our blog.

Monday, September 22, 2014

Notan - Rotation


Notan - Expansion of the Square

Create a cut paper collage with a composition where both positive and negative spaces are REVERSED. Use either Symmetrical or Asymmetrical Balance in creating your design. USE GOOD CRAFTSMANSHIP -BE NEAT!!!


LIGHTLY Draw your designs from the edges into the center of the square. Think of the designs as shapes. You MUST cut from all 4 sides. Do not cut off the corners & don’t go past the center of the paper with any designs.
1. Begin cutting shapes from the sides of the square. 
2. Glue down the main base in the middle of your background either straight or diagonally.
3. Place all the cut shapes back into the square.
4.  Flip shapes & glue down in the mirror image from where it was cut. The basic idea is to cut out the piece, flip it out so that it mirrors the cut out space, and then glue it down onto a 18×24” paper.


Thanks to createartwithme.com, and Notan - Expansion of the Square by Dorr Bothwell for the lesson plan!


Tuesday, September 16, 2014

Draw a portrait like Picasso


Picasso

Pablo Picasso was one of the most well known and influential artists of the 20th century. He was a painter, sculptor, print-maker, and ceramicist.

Take a look at Picasso in action. He was constantly making art, and worked in many different styles:

Picasso at Work Video

Picasso developed a style known as Cubism. Cubism is an abstract art form that was influenced by Egyptian, African and Native American art. Cubist art is very flat and angular, and shows multiple views of an object, such as the front and side, in the same composition.


Cubism

Picasso started as a traditional painter, but his style changed over the years.
Take a look at the many moods of Picasso in the video below:


TODAY'S ASSIGNMENT - PICASSO STYLE SELF PORTRAIT


Your assignment today is to draw a Self - portrait based on Picasso's Cubist Style. Watch the video below for instructions:


There is paper at your desk, there are sharpies in the box for your outlines of your portraits, and there are crayons on the wire shelf in the middle of the room. MAKE SURE YOU PUT BACK ALL MATERIALS WHERE YOU FOUND THEM!!!!

Mr. B will pick up the portraits when you have completed them, be sure to add your NAME and BLOCK on the back of your portrait.

Friday, September 12, 2014

Still Life


Finding Angles


Proportion


Upload your drawings

Today we will create 3 posts and upload our work into them. 

We will upload everything except the Shaded drawings. 

Post 1 - Title it - Proportion - Upload your Tube Drawings

Post 2 - Title it  - Finding Angles - Upload the Box drawings

Post 3 - Title it - Still Life - Upload the still life of the tubes and box

Tuesday, September 2, 2014

Finding Angles

When you are drawing object you also need to find correct angles.

use the following technique to sight the angles with pencils.

Tilt your pencil to align with a feature in your image. 


Then compare it to the horizontal border of your paper. 


Drawing in Proportion - Continued

We will continue to practice drawing the tubes in proportion. We'll also learn a trick for finding correct angles in a drawing.

We will draw the following:

1 of each tube on the same page
1 of the pencil box
I still life with the 3 tubes arranged with the box.


Friday, August 29, 2014

First Grading Update

For the first set of grades you need the following:

7 drawings - posted to your blog and turned in to me
3 tubes - posted to your blog and turned in to me

I will also be grading your work ethic. You can earn 20 points each class.

Finding Proportions

Today we will begin to learn the skills we need make a realistic drawing.

We will first focus on drawing ellipses. I have a worksheet for you to work on.

We will then practice making a drawing that is in Proportion, meaning that the top and sides are in the correct ratio to each other.


Use your pencil and thumb to measure a distance on the object. This is called the Unit of Measure.


Then use the unit of Measure to find out how tall the tube is. Drop your pencil and thumb down the length of the tube and count how many widths you find.


1 width


2 widths


..and the tube is almost 3 widths tall.

Here is a link that goes into much more detail about this process.

Thursday, August 28, 2014

Drawing in Proportion

Today we will begin to learn the skills we need make a realistic drawing.

We will first focus on drawing ellipses. I have a worksheet for you to work on.

We will then practice making a drawing that is in Proportion, meaning that the top and sides are in the correct ratio to each other.


Tuesday, August 26, 2014

Lets finish and photograph our drawings

Today we will complete our first drawings.

You will need to staple together and turn in your:
Chair
Hand
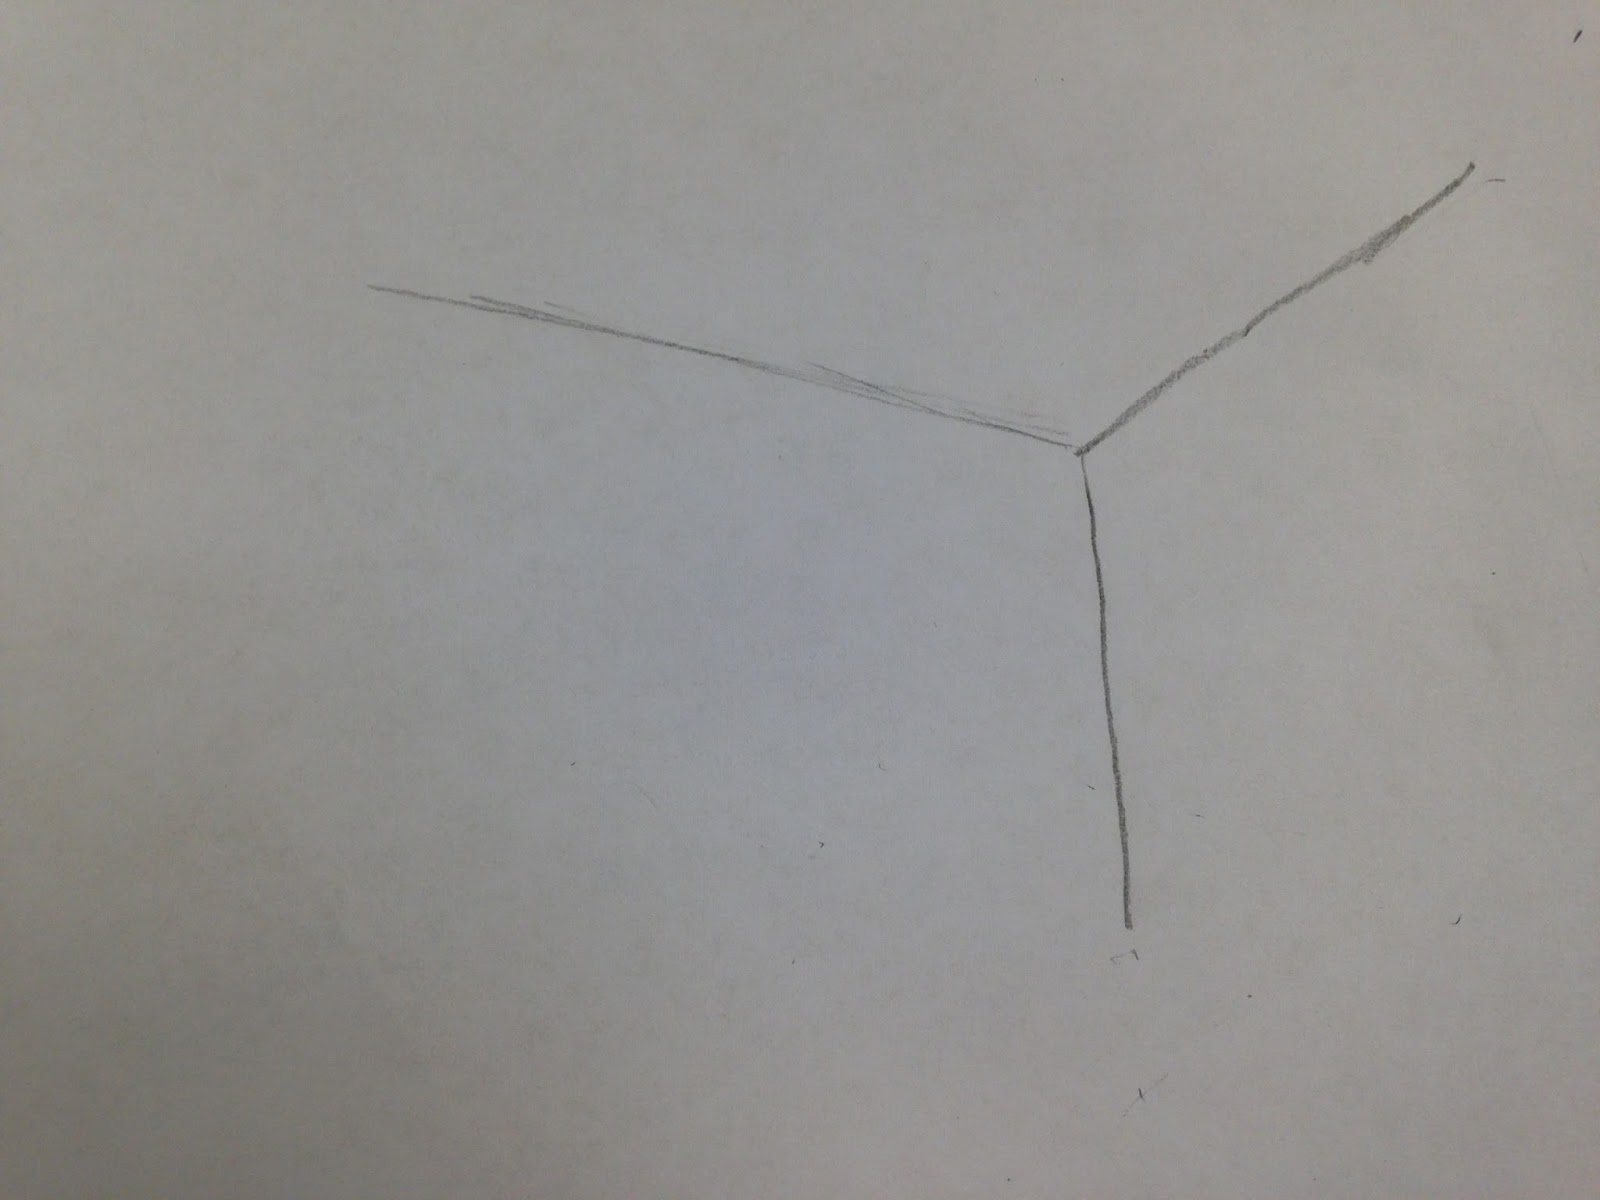
Corner of room
Lamp
Shoe
Self Portrait
and don't forget the drawing of your choice.

I would like each of you to take a picture of each of your drawings and email it to yourself. It may take a few tries to get this right.

After that we will move the photos to a folder you make on the desktop of your computer.

From there it is an easy process to upload the photos to a post on your blog.

When can post photos successfully you will begin drawing the cardboard tubes on your desks. 

Wednesday, August 20, 2014

Our First Drawings

Last class we had some time to draw after we completed our Blog assignment.

Today we will continue these drawings, but before we begin I want you to consider that there are three ways we can draw...
1. From reality
2. From our memory
3. From our imagination

This class will focus on drawings from reality. We will only draw what we SEE, not remember or make up from our imagination.

Last time you tried drawing a chair, and some of you started on a drawing of your hand.

Keep on working on those drawings if you need to complete them.

The rest of the drawings will be:

The corner of the room
A lamp
A self portrait
Your shoe

Just for fun,the last drawing can be of anything you want, either from the room or your imagination or memory.

Make sure your name, date and block are written in the top corner of the page.

Monday, August 18, 2014

My second post with a link

I teach at Ozark High School.

My first post

Here is my first post.

Creating a Blog

Today we will create our own blog. This blog will be used to upload projects, research, comments and also to measure our progress in class.

We will learn how to:

  • Log in to blogger
  • Make a new blog with a title and address
  • Create a post
  • Add a link to the post.

You will then send the address of your blog to my google email at:

johncazort@ga.ozark.k12.mo.us


Thursday, August 14, 2014

Welcome to the class!

Welcome to Art Foundations! I hope you are ready for a creative year ahead.

Today we'll go over the syllabus and other important information.

 Please read this at home with your parents and ask them to email confirming they have read it:
 johncazort@mail.ozark.k12.mo.us